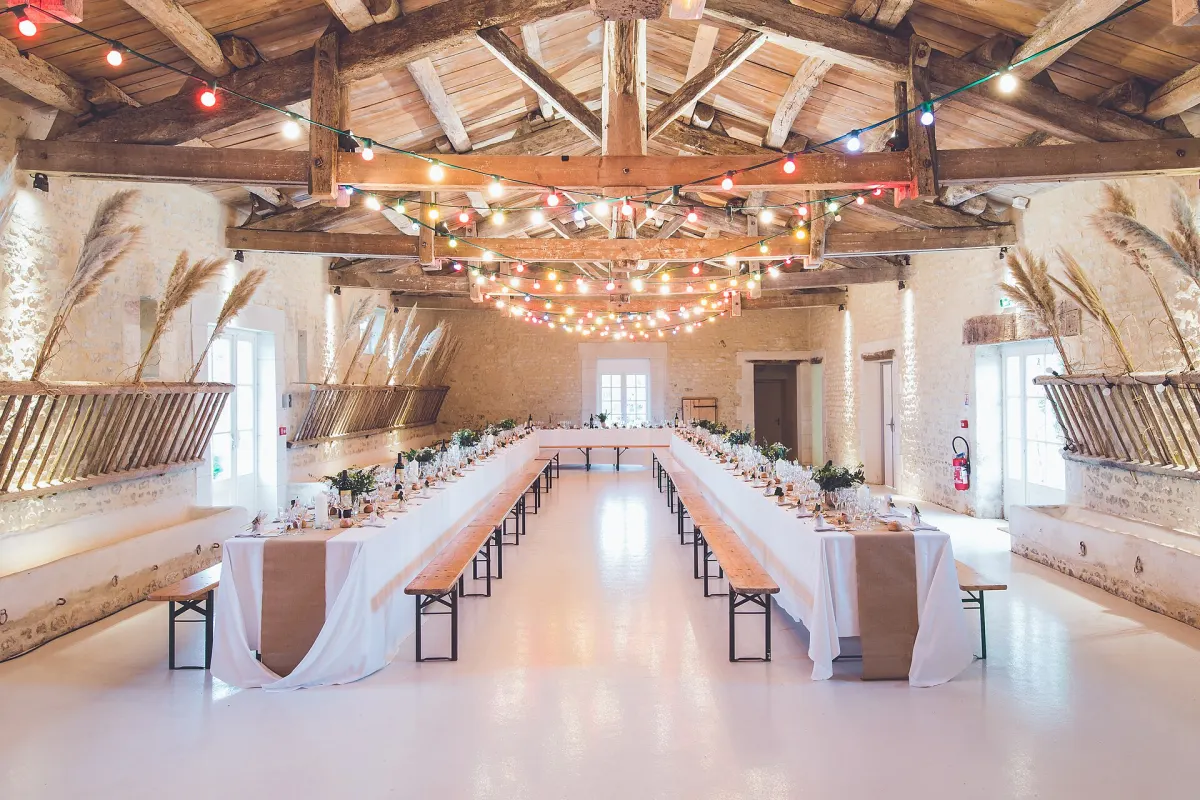
At a gala, a charity dinner, or a club party, your audience is seated at tables. In that case, you want to know not only how many tickets you sell, but also who is sitting where: friends together, a company at one table, and no loose people scattered throughout the room. With a seating plan, you can arrange this online. Here is how it works.
When do you choose a table plan?
A seating plan is suitable for events where guests sit together at a table: a dinner, a gala, a cabaret evening with tables, an anniversary party, or your association's Christmas dinner. If your audience is seated in rows, like in a theater, then you should choose a seating plan with numbered seats . Don't need assigned seats? Then simply sell tickets with free seating.
Step 1: Determine your zones
Just like with a seating plan, each zone has its own ticket type with a unique name and price. For a dinner, this could be, for example, Table at the front and Table at the back, or Standard and VIP. Here too, the rule applies: the fewer zones, the clearer it is for your visitors.
Step 2: Place your tables
For the seating plan, choose Tables instead of Rows. You place round or long tables in the room and drag them into place. For each table, you configure three things:
- The number of chairs at that table.
- The zone , and therefore the price.
- The sales format: visitors purchase individual seats, or the table only as a whole.
That last option is particularly useful for companies and regular groups. If you sell an entire table, the buyer knows for sure that their party will be seated together, and you don't have to fill any individual seats. If your room no longer fits the layout, you simply let the room expand and neatly slide the tables towards the center.
Step 3: reuse your table layout
Do you organize the same dinner in the same venue every year? Then transfer the table layout from a previous event to a new one. You link the zones to the ticket types of the new event, make adjustments if necessary, and save.
This is how your visitor chooses a table
If you sell individual seats, the visitor indicates how many people they are coming with. Kaartjie searches for a suitable table and displays it in the seating plan. If the spot is not to their liking, the visitor clicks on another available seat. If you sell tables as a whole, the visitor chooses their table themselves in the plan. Here too, no one needs to create an account, and the visitor pays with iDEAL.
The e-ticket and scanner display the table and seat, for example Table 4 · seat 3. Your volunteers at the entrance therefore see immediately where a guest is supposed to sit. In your event sales section, you see a seating plan of your table layout showing for each seat whether it is available, sold, or on a pending order.
What should you look out for?
- One type of layout per event. You choose between tables or rows. A room with a mix of tables and rows cannot yet be accommodated in a single floor plan.
- Space for service and aisles. Don't draw your tables too close together. A floor plan always fits, but the room doesn't in reality.
- Guests and sponsors. For invitees, create free cards and select seats on the seating plan so they are seated at the desired table.
How much does it cost?
You pay €0.80 per ticket sold, including VAT and transaction fees, without a subscription or setup costs. The rates can be found on the rates page . You can read how selling tickets online works in its entirety on the overview page.
Ready to place your tables?
See how the seating plan and table plan work and try out the example.
Ticket system with seating plan Create an event